Air Filtration Products
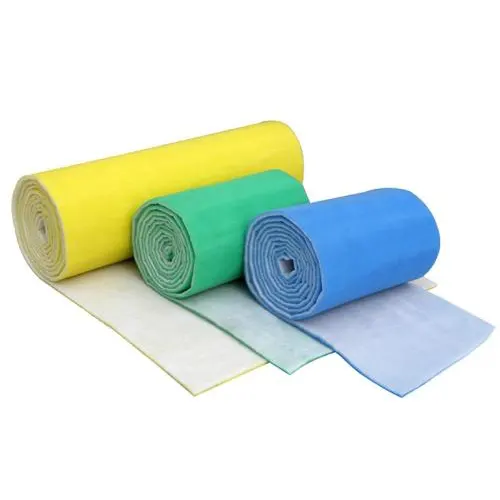
Explore our comprehensive range of high-quality air filtration solutions designed for a variety of industries.
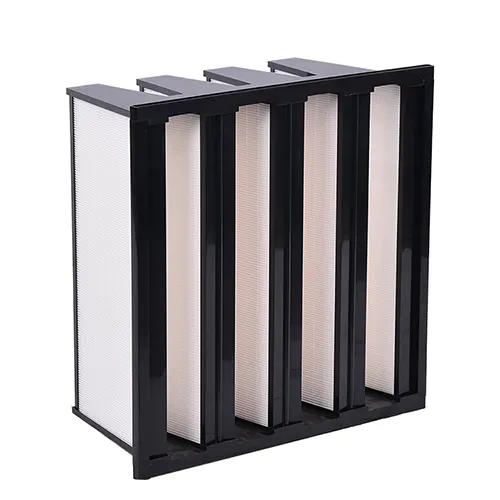
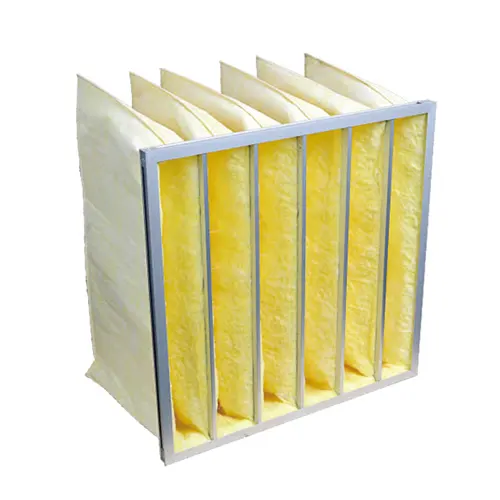
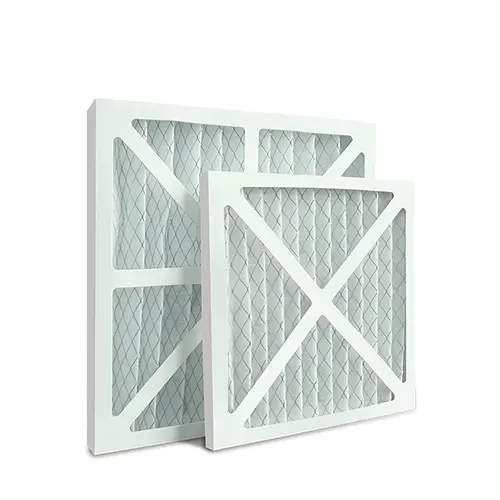
From HVAC filters to HEPA and industrial applications, our air filters offer superior performance, energy efficiency, and long-lasting reliability.
Find the perfect filter to meet your needs.